Northern Lights Hunting and Photography in Iceland
Seeing and photographing the Northern Lights in Iceland (or any location) is less about being in the right place once and more about planning, patience, and understanding conditions over multiple nights. Aurora activity, cloud cover, darkness, and mobility all play a role, and even strong forecasts don’t guarantee immediate results. Sometimes it involves a bit of luck.
This post focuses on how to plan for Northern Lights hunting in Iceland, how to interpret forecasts, when darkness makes viewing possible, and why certain locations consistently work better than others. The aim is to approach aurora chasing as an experience shaped by preparation and flexibility rather than a single moment to chase.
How Aurora Hunting Really Works
Northern Lights are present year‑round, technically throughout the day (during activity), but visibility depends on darkness and clear skies. In Iceland, that means planning around daylight hours, weather systems, and the ability to move when conditions change. Multiple nights in one region improve your chances far more than any single forecast. Even strong auroral activity can be hidden behind cloud cover. The most successful nights often come from reacting late, relocating when breaks appear, and being willing to wait longer than expected once conditions align.
Reading Aurora and Weather Forecasts
Aurora visibility depends on both solar activity and cloud cover. A strong geomagnetic forecast is meaningless under heavy clouds, while modest activity can produce strong displays in clear, dark skies.
Use multiple sources together rather than relying on a single indicator. The links below are what I use heavily when hunting and planning to view Northern Lights in Iceland.
Aurora forecast for Iceland | Aurora forecasts | Icelandic Meteorological office
Station forecasts - whole country | Icelandic Meteorological office
There are many more, but the above links are typically all you need. You may even be able to get by with the first two. The first link provides insight of expected low and mid-level clouds by time range. The portion over the country in white is clear, whereas the green portion indicates clouds (a bit confusing since Northern Lights are green).
The second link is the same website, but covers the weather. This is helpful even during the day, but for aurora chasing, you check the expected weather in addition to the general expected cloud by region in Iceland. Be sure to also use road.is for road and travel conditions around Iceland.
The third link provides a small image of the globe in the Northern Hemisphere that lets you visualize where the Aurora activity will potentially hit, but it also provides the expected Kp. The higher the Kp, the higher the likelihood of seeing the Northern Lights.
Several apps are geared towards Aurora/Northern Lights hunting. I find My Aurora Forecast to be reliable. It’s not only free, but it also provides the expected Kp, adjustable location, user reports of activity, cloud cover, and additional metrics such as solar winds. FYI, I sometimes look at Solar Winds BZ- the lower (more negative) the better for the Northern Hemisphere. Note for cloud cover on the app, I find this to be the weakest of all the forecasts it provides, which is why the previously mentioned links related to weather fare better.
Kp index and G-Scale
As mentioned earlier, the Kp index is one of the main ways to gauge the expected strength of aurora activity. It’s measured on a scale from 0 to 9. generally, the higher the number, the stronger the potential display.
The G-scale is similar, but runs from 0 to 5 and is more focused on the overall intensity and impact of a geomagnetic storm, including possible disruptions. It’s closer to how storms are classified in general.
Personally, I tend to pay more attention to the Kp index. Since it’s tied directly to geomagnetic activity and uses a broader scale, it gives a more detailed idea of what the aurora conditions might look like.
Time of Year and Darkness
September to March is considered to be “Aurora season”. It’s not an exact science, but that’s typically when you can see the Northern Lights. But then again, I’ve experienced one of the strongest displays of Northern Lights in May, and I’ve seen images of high aurora activity in late August. Although auroral activity continues year‑round, Iceland’s summer months bring near‑constant daylight. From late May through much of August, the sky never becomes dark enough for auroras to be visible.
September–October: Increasing darkness, milder conditions, early‑night activity possible
November–January: Longest nights, but more storms and unpredictable weather
February–March: A balance of darkness and improving daylight for travel
The season you choose should reflect how much darkness, weather tolerance, and mobility you’re comfortable with.
Photography Considerations
Aurora photography often involves standing still in cold conditions for long periods, especially during the “Aurora season”. Dressing for warmth and planning slow, deliberate sessions matter as much as camera setup. I recommend wearing gloves, good quality boots or hiking shoes, two layers of socks or thick socks, and a toque. These principles apply to astrophotography or even just being out in the cold in general. You can have some of the most amazing displays of dancing lights, but if you’re cold and uncomfortable, you’ll want to pack up and leave.
Camera Settings
No two aurora displays behave the same. Some move fast and fade within minutes, while others linger and slowly shift across the sky. Photographing the Aurora Borealis is all about adapting to movement rather than forcing consistency. Your composition can stay the same, but your camera settings often need to change with the pace and strength of the lights.
That’s one of the biggest differences compared to regular astrophotography. With stars, you’re usually working with a fairly standard setup: your aperture wide open, a higher ISO, and the longest shutter speed you can get away with before star trails start to show. With aurora, it’s much more dynamic.
Most of the time, I’m shooting somewhere between 1 to 4 seconds, with the aperture wide open and ISO anywhere from 320 to 1200. Like astrophotography, I also manually set my white balance to a consistent value (around 4100K works well) and focus manually to infinity.
Shutter speed makes a huge difference. If it’s too slow, the aurora can lose its shape and turn into a soft, mushy blur. A faster shutter speed helps preserve the detail, like the lines, pillars, and texture that make the lights so interesting. But it all depends on how active they are. There have been nights when the aurora was weak and barely moving, more like a faint glow near the horizon than dancing lights. In those cases, I’ve pushed my shutter speed out to 15–20 seconds to pull in more light, while keeping the ISO low, sometimes around 100. It creates a larger, softer green glow in the frame. Not necessarily the most accurate representation, but an artistic choice based on what the conditions allowed.
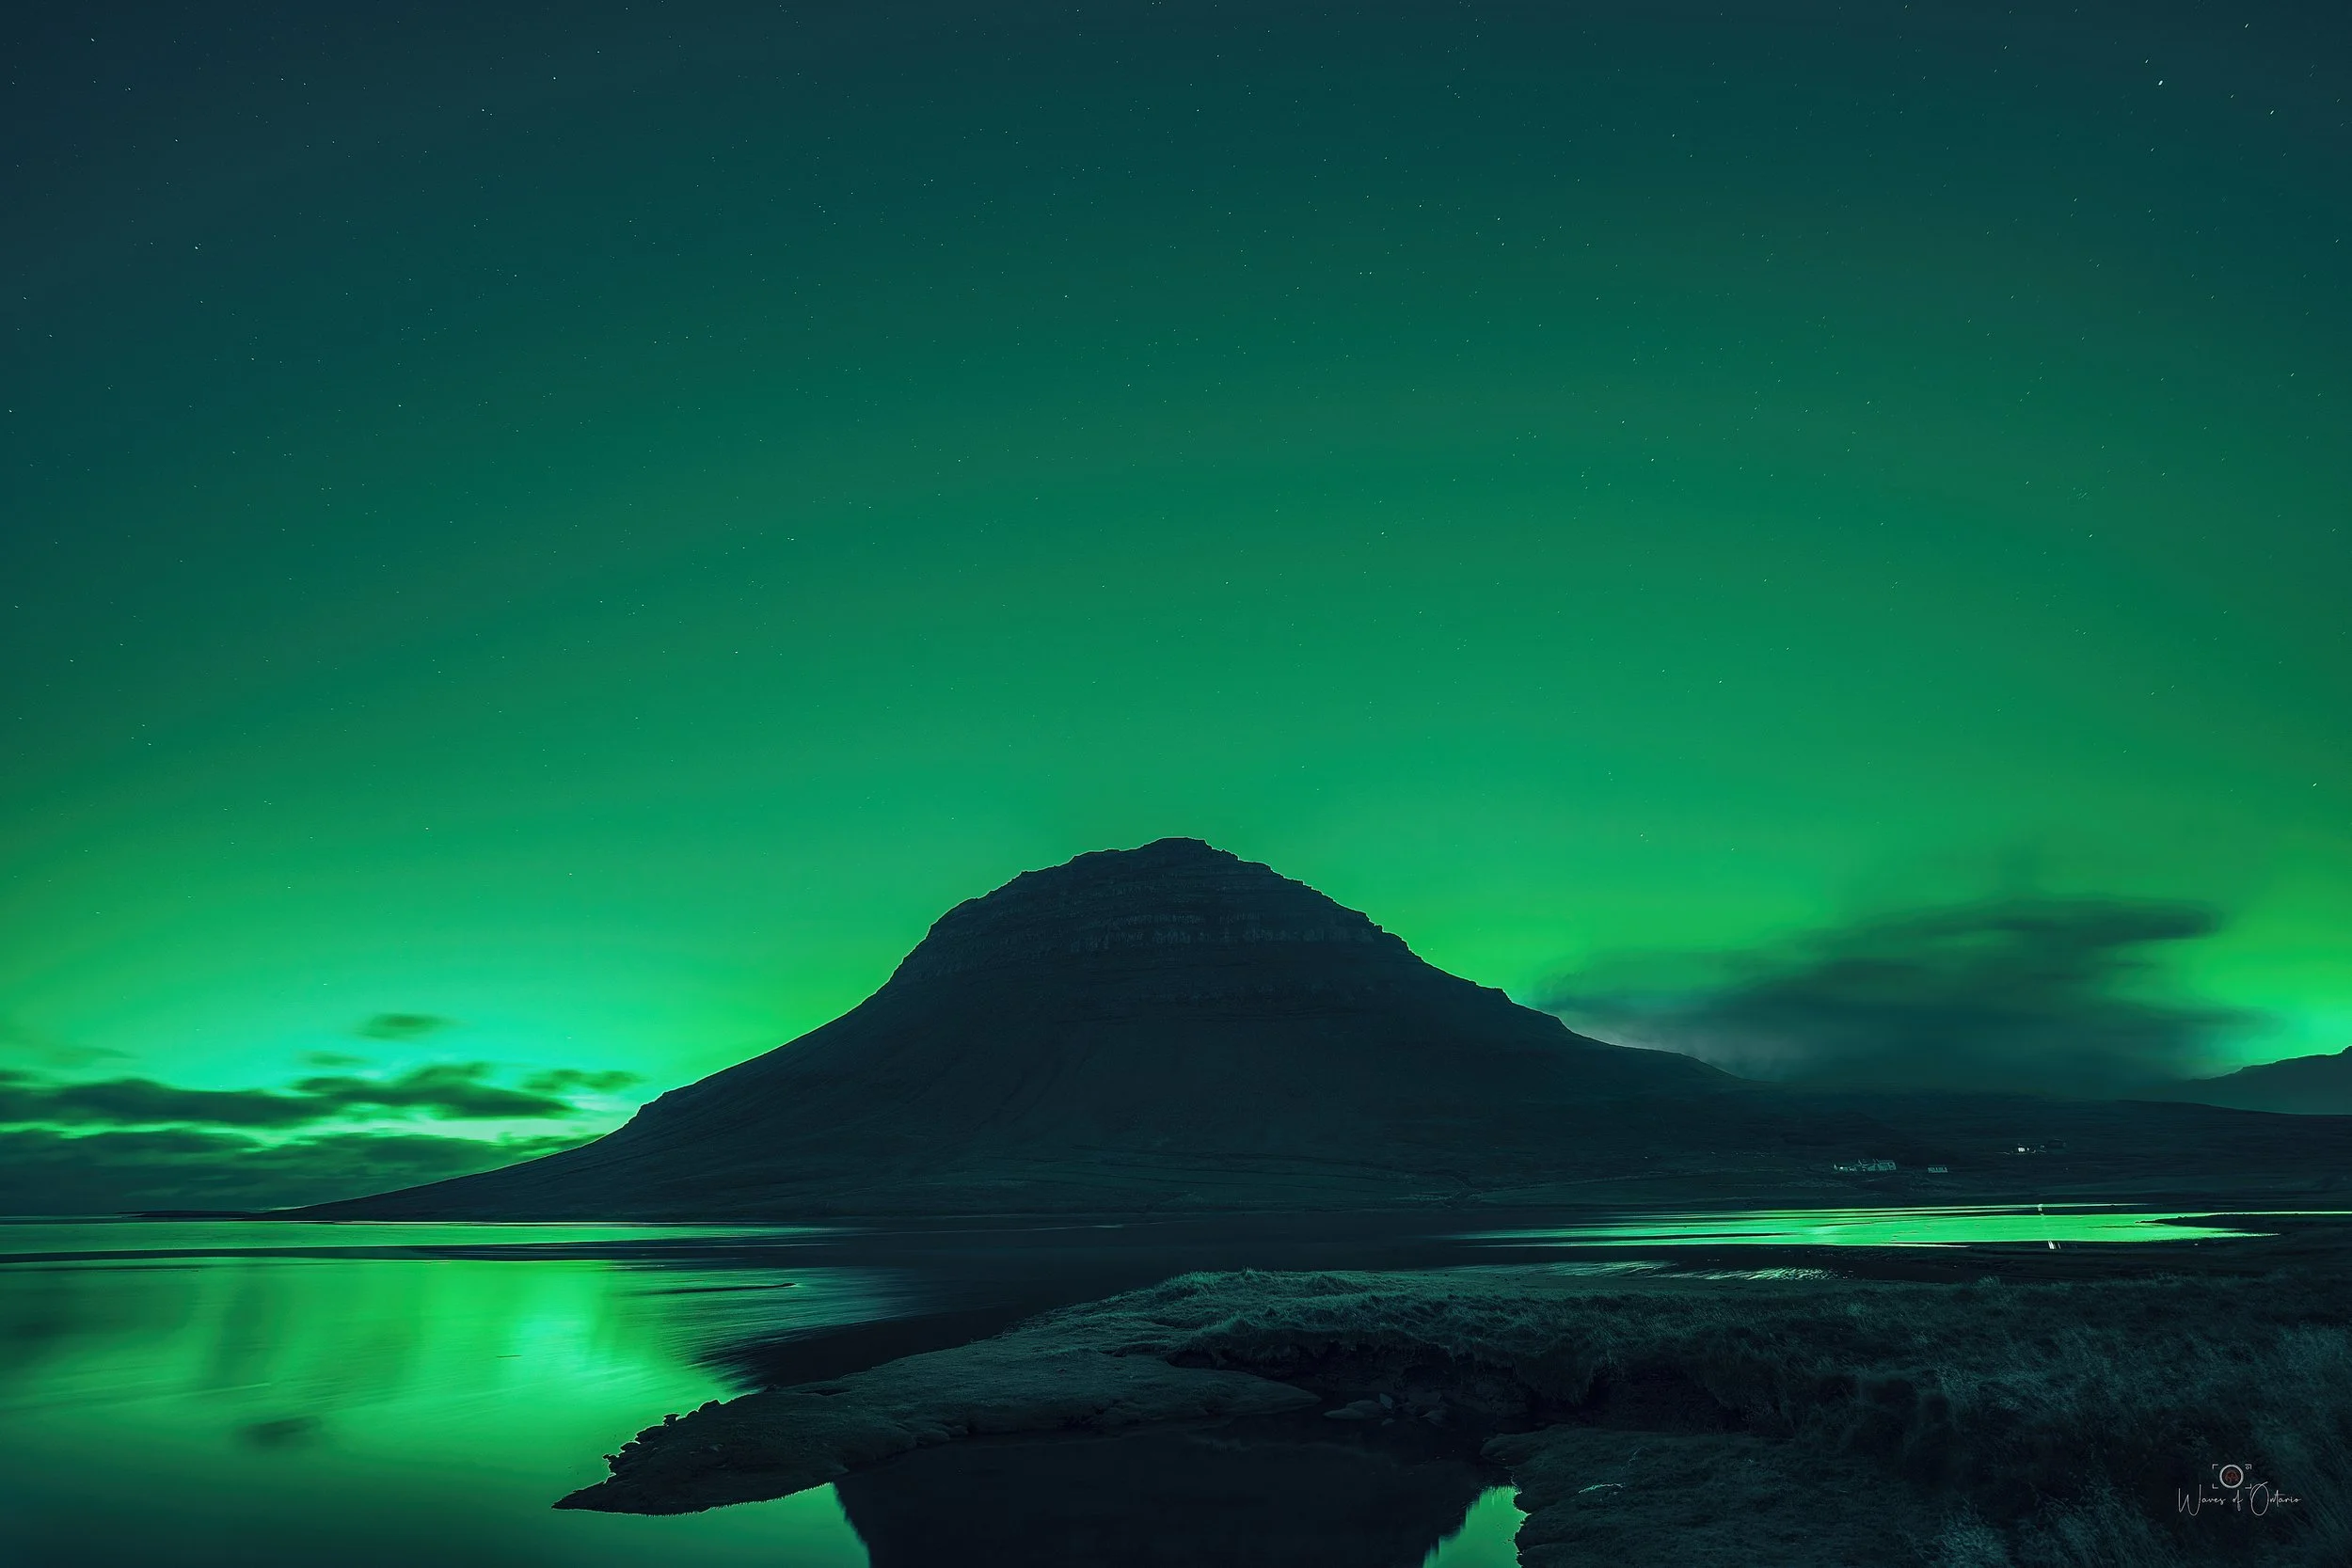
Aurora glow at Snaefellsnes Penisula, Iceland using a longer shutter speed during a weak geomagentic storm
Moonlight
Another big difference from regular astrophotography is how I plan around moonlight and moon phases. For astrophotography, especially when shooting the Milky Way core, most of us aim for nights close to a new moon to keep the sky as dark as possible.
For photographing the Aurora Borealis, I often prefer the opposite.
In the Northern Hemisphere, the moon tends to hang toward the south or southwest through much of the night for a good part of the year. That’s also roughly where the Milky Way core sits during its main season, which is why moonlight can work against you for astro. But when you’re facing north for aurora, that same moonlight can become a huge advantage.
It can act like natural fill light, softly lighting up your foreground and landscape while the aurora moves overhead. It’s an easy way to add more depth and detail to your image without needing any artificial light. Sometimes, if the moon is low enough on the horizon, it can even become part of the composition itself and add a little extra interest to the frame.

The moon hangs low on the horizon during aurora activity
Locations for Northern Lights in Iceland
Darkness and reduced light pollution are more important than specific viewpoints. Open horizons, minimal artificial light, and the ability to reposition when clouds move are key. Having said that, many of the main viewpoints of Iceland are also great locations for Northern Lights viewing and photographing. The locations below are not only some of my favourite sites for Northern Lights photography, but also easily accessible, wide-open spaces and mostly north-facing.
Vestrahorn: amazing mountain, great at anytime of the day/night
Skogafoss: beautiful waterfall, one of the most well-known in Iceland
Kirkjufell: one of the most iconic locations in Iceland
Godafoss: a large waterfall in the northern part of Iceland, with a viewing deck that allows an elevated vantage point with the waterfall placed lower in your frame
Jokulsarlon: not quite north-facing, but it can work well enough and allow the opportunity to frame beautiful icebergs in the scene
The spots above are some of the more well-known and beautiful places to photograph, but there are plenty of others worth exploring. While having a north-facing main subject is usually the safer choice for aurora photography, it’s worth experimenting with other directions too — even south.
If the Kp index is strong enough in Iceland (around 5 or higher), you can still get incredible results facing south at places like Reynisdrangar, with the aurora stretching far enough across the sky to fill the frame.
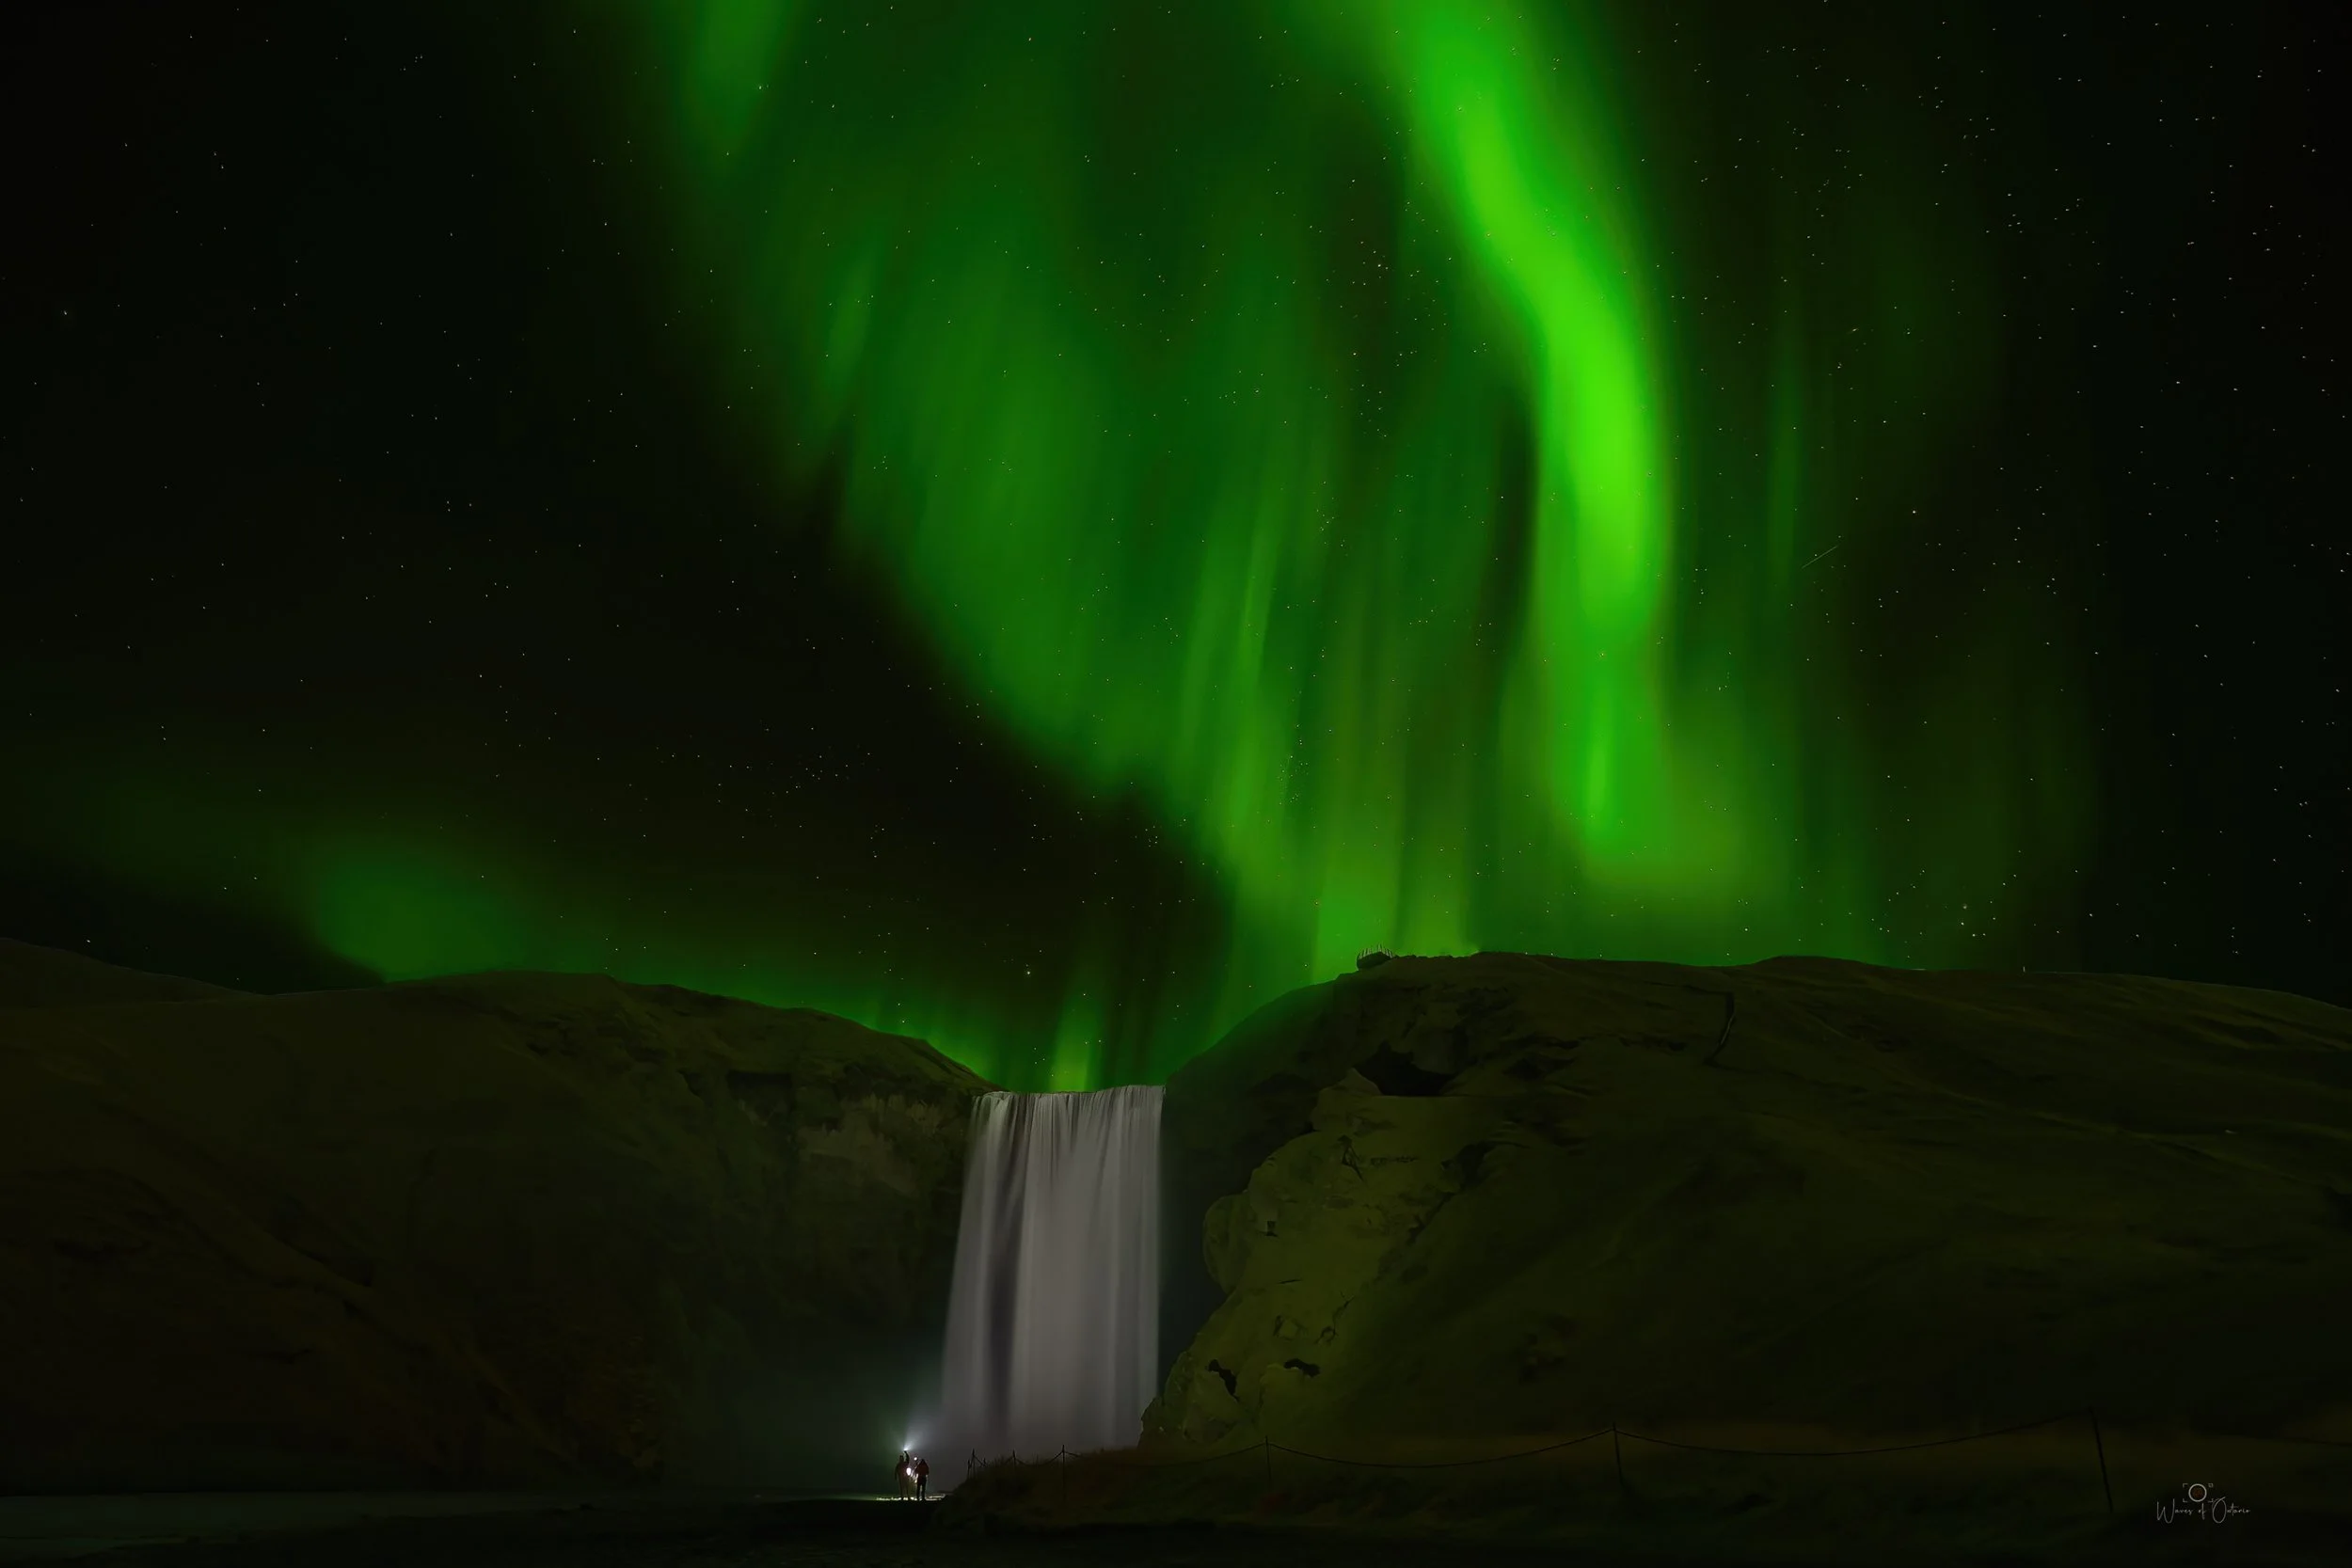
Strong aurora activity at Skogafoss
Managing Expectations
Aurora chasing involves probability, not certainty. Clear skies can close unexpectedly, activity can weaken, or timing can shift by hours. Understanding this upfront improves the experience and reduces frustration. Even under a strong Kp index forecast, such as 5+, I’ve seen aurora activity maybe at a maximum of maybe a Kp of 2. Again, it’s not an exact science. But that’s what adds to the magic of seeing a spectacular display of Northern Lights.
Go Out and Hunt for Aurora Activity
When timing, weather, and activity align, the experience feels earned. Long waits, cold nights, and aborted attempts are often part of reaching that moment — and are as much a part of aurora hunting as the display itself.
While Kp index and G-scale measures are good for a general indication of Northern Lights activity, I’ve seen some of the strongest displays of Northern Lights with low Kp index. Even a cloud cover forecast can be very wrong, or coverage can be in the opposite direction.
Northern Lights hunting in Iceland rewards preparation, flexibility, and patience. Planning your trip around multiple nights, understanding forecasts, and choosing adaptable locations dramatically improve your chances. More than anything, approaching the experience as open‑ended rather than guaranteed shapes how meaningful it becomes.
There have been nights when I’ve driven for hours, followed the forecasts, and still come away frustrated when nothing unfolds the way it was supposed to. Some of those nights were close to heartbreaking. But there have also been nights where everything lined up unexpectedly; stronger magnetic storms than forecasted, perfect timing, the right place, and the right time can make you feel “on top of the world”. And when you get to experience those moments with family or friends beside you, it makes it even more special. Sometimes the Aurora Borealis feels less like something you photograph and more like something you share.

Northern lights at Stokksnes Beach with a partial view of Vestrahorn